
Flowers
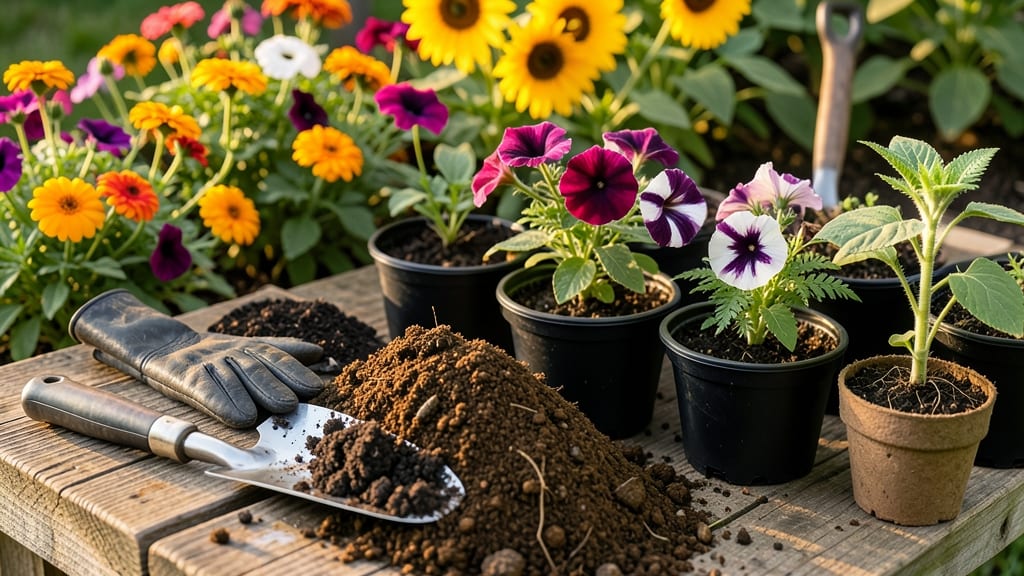
Planting flowers in the ground is simpler than you think—just follow the right depth, spacing, and timing to unlock a garden that blooms all season.
Picture this: you’re kneeling in rich soil, your hands cradling a flower that will soon burst into color. The secret isn’t luck—it’s knowing how deep to tuck those roots, how far apart to space them, and when to water without drowning them.
I’ve turned even the trickiest flower beds into thriving displays using these proven steps, and you can too.
Whether you’re planting annuals for instant color or perennials that return year after year, the key lies in preparing the soil right, choosing the right spot, and avoiding common mistakes like overcrowding or planting too shallow.
Below, I’ll walk you through the exact depths and spacing for 30+ popular flowers, plus the best times to plant in your zone for maximum blooms.
Ready to transform bare soil into a year-round floral masterpiece? Let’s get your flowers rooted, watered, and on their way to becoming the showstopper of your yard.
Optimal flower planting depths and spacing by type
Getting the planting depth and spacing right is the secret to flowers that thrive from their first bloom to their last. Too shallow, and roots struggle; too crowded, and plants compete for nutrients.
I’ve planted thousands of flowers, and these science-backed guidelines will help you avoid the most common mistakes while ensuring your garden grows lush and healthy.
The key to strong roots starts with proper depth. Most flowers need to be planted at a depth equal to their root ball’s diameter or twice the height of their roots.
For example, a tulip bulb should sit 6 inches deep, while a petunia might only need 1 inch deep. Spacing varies too—perennials like coneflowers need 18–24 inches apart, while annuals like marigolds can thrive in 12-inch gaps.
Soil type plays a huge role in adjusting these rules. Clay soil holds moisture longer, so you might space plants slightly wider to prevent rot. Sandy soil, on the other hand, drains quickly, so closer spacing can work—just water more frequently.
Always loosen the soil before planting to encourage root penetration, and mix in compost to improve drainage and fertility.
Here’s a quick reference for the most popular flower types, including bulbs, perennials, annuals, and shrubs, so you can plant with confidence:
For bulbs, like tulips or daffodils, planting depth is critical. If you bury them too shallow, they’ll flop over in wet weather. Aim for 6–8 inches deep—this protects them from frost and encourages strong root growth.
In clay-heavy soil, mix in a layer of sand or perlite to improve drainage, or your bulbs might rot.
When planting perennials, think long-term. These plants return year after year, so give them enough space to mature without competing. Coneflowers, for example, can reach 3 feet tall and need 18–24 inches of space to avoid overcrowding.
If your soil is poor, amend it with aged compost or a slow-release fertilizer to give them a nutrient boost.
Annuals like marigolds and petunias are the quickest to establish, but they still need the right conditions. Plant them 1–2 inches deep and space them 6–12 inches apart to allow airflow and prevent fungal diseases.
If you’re planting in containers, use a high-quality potting mix with added perlite to keep roots aerated.
Shrubs, like hydrangeas or roses, require the most space but also the deepest planting. Dig a hole twice as wide as the root ball and just as deep. This encourages roots to spread outward rather than circling, which can strangle the plant.
Water deeply after planting to settle the soil and remove any air pockets around the roots.
One of the biggest mistakes I see is overcrowding. Plants that are too close compete for water and nutrients, leading to weaker growth and fewer blooms. Always check the mature size of your flowers before planting—what looks
Step-by-step guide to planting flowers in the ground
Planting flowers in the ground is easier than you think when you follow a few key principles. Timing matters most—plant annuals after your last frost date (typically March-April in Zone 6a) and perennials in early fall for stronger root establishment. Soil prep is your foundation: loosen the top 12 inches of soil and mix in 2-3 inches of compost to improve drainage and fertility.
This simple step prevents common mistakes like poor root growth or waterlogging that can kill your blooms before they even sprout.
Before digging, test your soil's drainage by digging a hole, filling it with water, and timing how long it takes to drain.
If water pools after 30 minutes, amend with sand or perlite to prevent root rot. Companion planting is another game-changer: pair marigolds with tomatoes to deter pests or lavender with roses to improve fragrance.
These pairings create a thriving ecosystem where plants support each other naturally, reducing your workload while boosting beauty.
Your Foolproof Planting Checklist
- Step 1
- Step 2
- Step 3
- Step 4
- Step 5
- Step 6
- Step 7
One of the biggest mistakes I see is planting too deeply—burying stems or crowns can suffocate plants and lead to rot. Always plant so the top of the root ball sits level with the soil surface.
For bulbs like tulips, dig holes 6-8 inches deep (twice the bulb’s height) and space them 4-6 inches apart. If you’re unsure about spacing, err on the side of more room—crowded flowers compete for nutrients and sunlight, resulting in leggy, weak stems.
After planting, mulch is your secret weapon. A 2-3 inch layer of shredded bark or straw keeps soil moist, suppresses weeds, and regulates temperature. Just avoid piling mulch against plant stems to prevent rot and pest infestations.
For drought-prone areas, group plants with similar water needs (e.g., lavender and rosemary) and water deeply 2-3 times per week during the first growing season to establish strong roots.
Finally, seasonal care keeps your garden thriving year-round.
In spring, fertilize lightly to encourage blooms, and in fall, cut back dead foliage but leave perennial stems for winter interest. Deadheading (removing spent blooms) isn’t just for looks—it redirects energy to new growth, ensuring your flowers keep blooming until the first frost.
With these steps, your garden will reward you with vibrant color and minimal effort.