
Plants
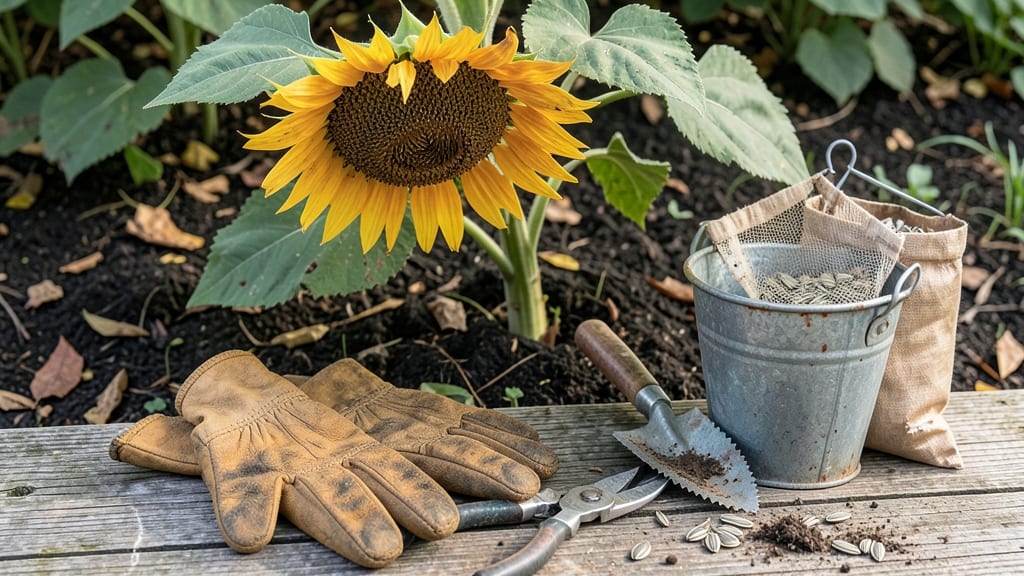
Harvesting sunflower seeds from plants at the right time turns those towering 🌻 blooms into a pantry staple — but miss the window, and you’ll end up with bitter, shriveled seeds instead of rich, flavorful ones.
Picture this: you’ve nurtured your sunflowers all season, only to wonder, Are they ready yet? The answer isn’t just about days on the calendar — it’s about three key plant cues that tell you when to act.
Skip these, and you might harvest too early (wasting potential) or too late (risking frost damage).
Below, I’ll break down the exact visual and environmental signals to watch for — from the moment the petals drop to the telltale rattle of a mature seed head.
You’ll also learn how to test ripeness like a pro, plus the best drying and storage tricks to keep your seeds viable for months.
Whether you’re growing sunflowers for snacking, bird feed, or even oil, these tips will ensure you don’t leave a single seed behind. Let’s get started.
3 Key plant cues to harvest sunflower seeds at peak ripeness
Harvesting sunflower seeds at the right moment transforms your garden into a nutritious treasure trove. But timing is everything—miss the window, and you risk bitter, underdeveloped seeds or wasted effort.
The secret lies in watching for three critical plant cues that signal perfect ripeness. These visual and tactile clues ensure you collect seeds packed with flavor and nutritional benefits.
First, pay attention to the petal changes—this is your earliest warning system. Sunflowers start with vibrant yellow petals, but as seeds mature, these petals begin wilting and falling off.
When they’ve completely dropped, it’s a strong sign the seeds are nearing readiness. However, this cue alone isn’t enough—you’ll need to cross-reference it with two more signals for absolute accuracy.
🌻 Numbered Highlights: 3 Key Cues to Harvest Sunflower Seeds
- 1️⃣ Petal Drop: 🌼 When petals wilt and fall, seeds are maturing. Wait for 100% petal loss before proceeding.
- 2️⃣ Seed Head Firmness: 🌰 Gently squeeze the back of the seed head. If it feels dry and papery, seeds are ready. Press too hard? They’re still moist.
- 3️⃣ Seed Color Shift: 🟤 Seeds should turn from green to tan or brown. Check a few seeds—if they’re plump and firm, harvest day has arrived.
- ⚠️ Pro Tip: Shake the seed head over a paper bag. If seeds rattle loudly, they’re dry and ready. Silence means more time to wait!
The second cue focuses on the seed head’s physical state. As seeds mature, the back of the flower head transforms from a green, fleshy base to a dry, brown papery texture. This change indicates the seeds have stopped growing and are ready for harvest.
To test it, gently press your thumb and forefinger against the back of the head—if it feels crisp and hollow, the seeds inside are fully developed.
Don’t overlook the seed color progression, which is your final confirmation. Immature seeds are bright green, but as they ripen, they turn tan, brown, or even black, depending on the variety.
Pop open a seed head and inspect a few seeds—if they’re plump, firm, and easy to shell, you’ve hit the sweet spot. This cue is especially useful for dwarf varieties, which may ripen faster than their towering counterparts.
Environmental factors also play a role in timing. If your region experiences early fall frosts, prioritize harvesting based on these cues before temperatures drop. A light frost can prematurely dry the heads, but seeds won’t fully mature—resulting in smaller, less flavorful harvests.
In warmer climates, wait until the seed heads are fully brown and dry to avoid mold or spoilage during storage.
For large sunflower varieties, like Mammoth or Russian Giant, these cues appear later due to their longer growth cycles. Monitor the petal drop first, then confirm with the other two signals.
Smaller varieties, such as Teddy Bear or Sunspot, may show all three cues in as little as 80–90 days, so stay vigilant. Pro tip: Mark your calendar when you notice the first petal wilting—this gives you a 7–10 day window to harvest before seeds scatter or spoil.
Once you’ve confirmed all three cues, act quickly. Use a sharp pruner or knife to cut the seed head from the stem, leaving a 1–2 inch stalk for easier handling. Hang the heads upside down in a dry, well-ventilated space for 1–2 weeks to fully dry.
This step is crucial—moisture in seeds leads to mold and reduces shelf life. After drying, gently rub the heads over a clean towel or bag to release the seeds.
Harvesting at peak ripeness ensures seeds with maximum flavor, crunch, and nutritional value. Store them in an airtight container in a cool, dark place for up to 6 months.
Now you’re ready to enjoy homegrown sunflower seeds in salads, snacks, or even bird feeders—all thanks to mastering these three key plant cues! 🌱
How to test sunflower seed ripeness: the float test and beyond
Once your sunflower heads show signs of maturity—like brown centers and dropped petals—you’ll want to confirm seed readiness before harvesting. The classic float test is my go-to method, but I’ve also learned to combine it with seed shell hardness checks and moisture content assessments for foolproof results.
These tests ensure you avoid both premature seeds (bitter, underdeveloped) and overripe seeds (shriveled, low viability).
Start by selecting a fully mature sunflower head—one where the back is completely brown and the petals have fallen off naturally. Cut the head from the stem with a clean pair of pruners or scissors, leaving a 2-inch stem for handling.
Place it in a dry, well-ventilated area to begin the drying process, which typically takes 1-2 weeks depending on humidity and temperature.
Step-by-Step Sunflower Seed Ripeness Test
- 1. Float Test: Fill a bowl with room-temperature water. Drop 5-10 seeds from the head into the water. If most seeds sink, they’re ready to harvest—this means they’ve reached optimal moisture content (typically 8-12% moisture). If they float, wait 3-5 more days and retest.
- 2. Shell Hardness Check: Gently press a seed between your thumb and index finger. A ripe seed will feel firm but not rock-hard. If it’s soft or mushy, it’s underripe and needs more time on the plant. If it crumbles, it’s overripe and may not store well.
- 3. Moisture Content Test: Use a seed moisture meter (or a kitchen scale if you’re DIYing) to measure moisture. For sunflower seeds, aim for 8-12% moisture. To test without a meter, place a seed in a paper bag and crush it lightly. If it leaves a slightly damp (not wet) residue, it’s ready.
- 4. Seed Shell Color: Examine the outer shell of the seed. Ripe seeds have a creamy-white to light tan shell, while unripe seeds are greenish or translucent. Overripe seeds may appear dull or grayish.
- 5. Final Rattle Test: Shake the dried seed head. If the seeds rattle loudly inside, they’re ready. A dull thud means they’re still too moist or underdeveloped.
Troubleshooting is key—especially when dealing with humid climates or unpredictable weather. If your seeds fail the float test but the shell hardness check passes, try drying them further by spreading them on a paper towel-lined tray in a warm, dry place (like a sunny windowsill or near a fan).
Avoid direct sunlight, which can overheat and crack the shells.
For overripe seeds, you can still salvage them by storing them in the freezer for 24 hours to halt moisture loss, then transferring them to an airtight container with a silica gel packet to absorb excess humidity.
While these seeds may not store as long, they’re still edible and nutritious—just less ideal for long-term saving.
Once you’ve confirmed ripeness, harvest the seeds by rubbing the dried head over a clean sheet or bucket to dislodge them.
Store them in a cool, dark place (like a glass jar with an airtight lid) for up to 6 months for planting, or roast and eat them fresh for a delicious snack!